vinayaka chavithi book 2023 pdf
The 2023 Vinayaka Chavithi PDF offers a comprehensive guide for devotees‚ featuring detailed puja instructions‚ the Vrathakalpam‚ and a narrative of the festival in Telugu and English. Accessible for free download‚ it serves as a modern reference for traditional worship.Downloadno for guided rituals!
Historical Context of Vinayaka Chavithi
Vinayaka Chavithi‚ rooted in ancient Vedic rituals‚ traces its origins to the worship of Ganesha as the remover of obstacles. Over centuries‚ the festival evolved from regional observances to a pan‑Indian celebration‚ reflecting socio shifts and practices.
Evolution of Vinayaka Chavithi Celebrations
The evolution of Vinayaka Chavithi reflects a dynamic interplay between ancient Vedic rites and regional customs. Initially‚ the festival was a modest‚ household‑level observance‚ where families offered simple offerings to Ganesha to seek his blessings before commencing new ventures. Over time‚ the ritual expanded into community gatherings‚ with elaborate processions‚ music‚ and dance. In the medieval period‚ royal patronage amplified the festival’s prominence‚ leading to the construction of grand temples and the inclusion of public pujas. The 18th and 19th centuries saw the integration of local folk traditions‚ such as the use of clay idols and the performance of devotional songs in regional languages. With the advent of mass media in the 20th century‚ the festival’s reach extended beyond regional boundaries‚ as televised celebrations and printed pamphlets disseminated standardized rituals. Today‚ the 2023 edition of the Vinayaka Chavithi book PDF consolidates these historical layers‚ offering a comprehensive guide that blends traditional puja instructions with contemporary devotional practices‚ ensuring that devotees worldwide can participate in a culturally rich and spiritually meaningful celebration. The PDF offers a detailed step‑by‑step guide for the puja‚listing the exact sequence of offerings‚mantras‚ and symbolic gestures‚so devotees can perform the ceremony confidently.It also explains regional variations‚showing how different communities celebrate the festival with unique customs and local flavors.!
Significance of the 2023 Edition
The 2023 edition of the Vinayaka Chavithi PDF stands out for its meticulous compilation of ritual guidelines‚ linguistic inclusivity‚ and digital accessibility. It incorporates the latest scholarly insights into Ganesha iconography‚ ensuring that devotees receive accurate descriptions of the clay idol’s proportions and symbolic attributes. The bilingual format—Telugu and English—bridges generational gaps‚ allowing younger families to engage with the text in their native tongue while also providing a clear English translation for diaspora communities. Moreover‚ the PDF’s interactive features‚ such as clickable mantras and audio guides‚ enhance user engagement‚ making the complex puja sequence more approachable. This edition also addresses contemporary concerns by including eco‑friendly recommendations‚ such as using biodegradable lamps and locally sourced flowers‚ aligning the festival with modern sustainability values. Finally‚ the 2023 version’s open‑access distribution model democratizes worship‚ removing cost barriers and enabling widespread participation across socioeconomic strata. These combined elements underscore the edition’s role as a modern‚ inclusive‚ and environmentally conscious resource for Vinayaka Chavithi observances worldwide.
The 2023 PDF includes a section on ethical sourcing‚ urging devotees to use locally harvested flowers and sandalwood. It offers a concise guide for setting up a home altar‚ ensuring each element—from the clay idol to the final offering—supports a celebration deeply meaningfulall
Contents of the Vinayaka Chavithi Book 2023 PDF
The 2023 PDF contains three main sections: the Vrathakalpam (Puja Vidhanam) detailing rituals; the story of Vinayaka Chavithi in Telugu; and an English translation of the Vrathakalpam. Each section is formatted for easy reference during the festival. It offers step‑by‑step guidance for each ritual now.
Vrathakalpam (Puja Vidhanam)
The Vrathakalpam section of the Vinayaka Chavithi 2023 PDF provides a meticulous‚ step‑by‑step guide to the puja rituals‚ ensuring devotees can perform the ceremony with confidence and reverence. It begins with the preparation of the altar‚ where a clay image of Lord Ganesha is placed on a clean‚ auspicious cloth‚ accompanied by a small brass plate for offerings. The text specifies the exact sequence of offerings: first a handful of akshata (rice grains) sprinkled over the idol‚ followed by a bowl of water to purify the surroundings‚ and then the lighting of a diya (lamp) to invite divine presence. The puja proceeds with the chanting of mantras‚ each accompanied by specific gestures and the placement of flowers‚ fruits‚ and leaves. The Vrathakalpam also outlines the timing of each step‚ recommending that the puja commence at sunrise‚ with the main ritual performed at noon‚ and concluding with a final blessing and distribution of prasadam. This section is written in clear‚ concise language‚ making it accessible to both novice and experienced worshippers. The PDF also includes a brief commentary on the symbolic meanings behind each offering‚ helping devotees understand the deeper spiritual significance of the rituals. By following the Vrathakalpam‚ participants can ensure that their Vinayaka Chavithi celebration is conducted in accordance with traditional customs‚ thereby inviting blessings and prosperity into their homes. Devotees are encouraged to observe the puja‚ ensuring the sanctity of ritual act now today!.
Story of Vinayaka Chavithi in Telugu
Vinayaka Chavithi‚ also known as Ganesh Chaturthi‚ commemorates the birth of Lord Ganesha‚ the remover of obstacles. According to legend‚ after the creation of the universe‚ the supreme deity Shiva created Ganesha from his own body‚ using the mud of his body to sculpt a child. He was given the task of guarding the entrance to the divine realm. When Shiva returned‚ Ganesha‚ unaware of his identity‚ blocked his path. In a fit of divine wrath‚ Shiva severed the child’s head. The heartbroken deity vowed to restore Ganesha’s life. He instructed the celestial beings to bring the head of the first elephant they encountered. The elephant’s head was placed upon Ganesha’s body‚ and the god was revived. The story symbolizes the triumph of wisdom over ignorance and the importance of devotion. The festival’s rituals‚ including the offering of modaks‚ the sweet dumplings‚ and the chanting of mantras‚ honor this narrative and invite blessings into the household. During the festival‚ devotees gather at temples and homes‚ offering prayers and singing devotional songs. The night is illuminated by thousands of diyas‚ creating a celestial glow that symbolizes the divine presence. Families prepare special sweets‚ especially modaks‚ which are believed to be Lord Ganesha’s favorite. The communal chanting of “Om Ganeshaya Namah” unites hearts‚ while the distribution of prasadam spreads blessings throughout the community. This collective devotion reinforces cultural identity and spiritual harmony. All hearts rejoice together.
English Translation of Vrathakalpam
In the English version of the Vinayaka Chavithi Vrathakalpam‚ the puja sequence is laid out in clear‚ step‑by‑step instructions. The ritual begins with the preparation of the sacred space: a clean altar is set up‚ a clay image of Lord Ganesha is placed at its center‚ and a small pot of akshata (rice grains) is offered. The devotee then lights a lamp‚ followed by incense sticks‚ and pours water into a small vessel to symbolize purification. Next‚ a series of flowers—primarily marigolds and jasmine—are arranged around the image‚ and a handful of fresh leaves (such as mango or neem) are sprinkled over the altar. The offering of fruits‚ especially bananas and coconuts‚ is then performed‚ accompanied by the chanting of the Ganesha mantra. After the main offering‚ the devotee dips a spoonful of akshata into the water and feeds it to the clay idol‚ signifying the transfer of divine blessings. Finally‚ the puja is concluded with the distribution of prasadam (sacred food) to family members and the community‚ while the devotee offers thanks and seeks the removal of obstacles in all endeavors. This translation preserves the original Telugu text’s reverence and ensures that devotees worldwide can participate in the ritual with confidence and devotion.
For those who wish to deepen their practice‚ the PDF also provides optional chants and a brief meditation guide. It suggests setting a quiet space‚ placing a small bowl of water beside the idol‚ and reciting the “Om Ganapati Bappa Morya” mantra three times while visualizing the removal of obstacles. The guide emphasizes the importance of sincerity and mindfulness‚ reminding devotees that the true essence of the Vrathakalpam lies in the devotion of the heart rather than mere ritualistic performance. performance.and joy!!
Essential Ritual Items Listed in the PDF
The 2023 Vinayaka Chavithi PDF enumerates key items: a clay image of Lord Ganesha‚ akshata (rice grains)‚ water‚ lamps‚ incense sticks‚ fresh fruits‚ fragrant flowers‚ and sacred leaves. These elements collectively enable a complete‚ authentic puja experience.
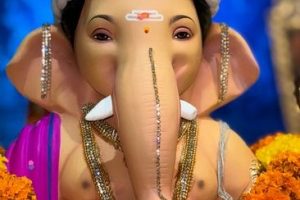
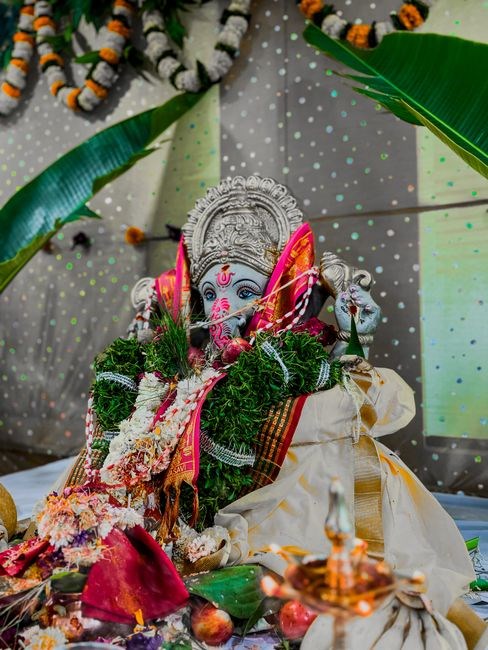
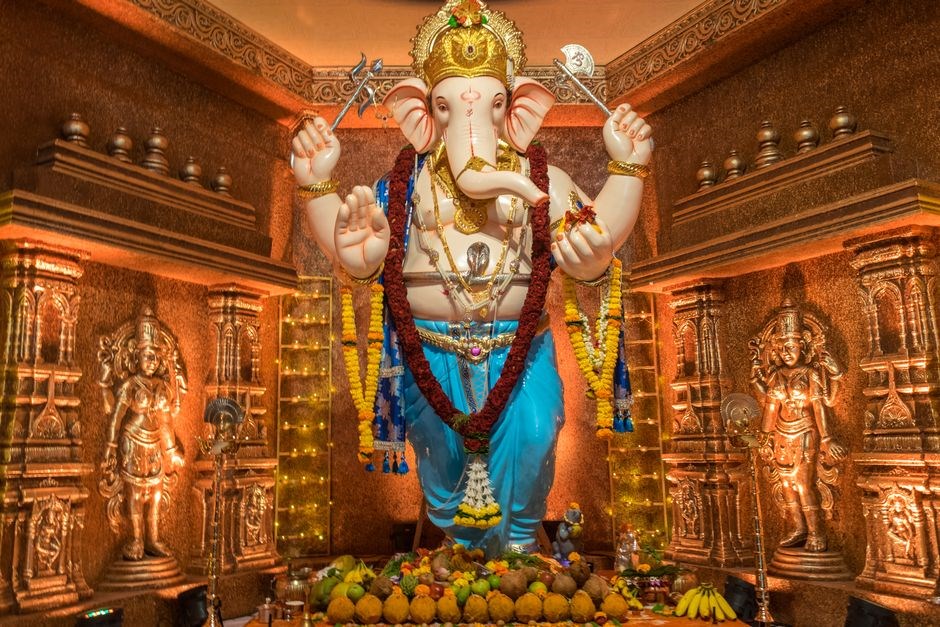
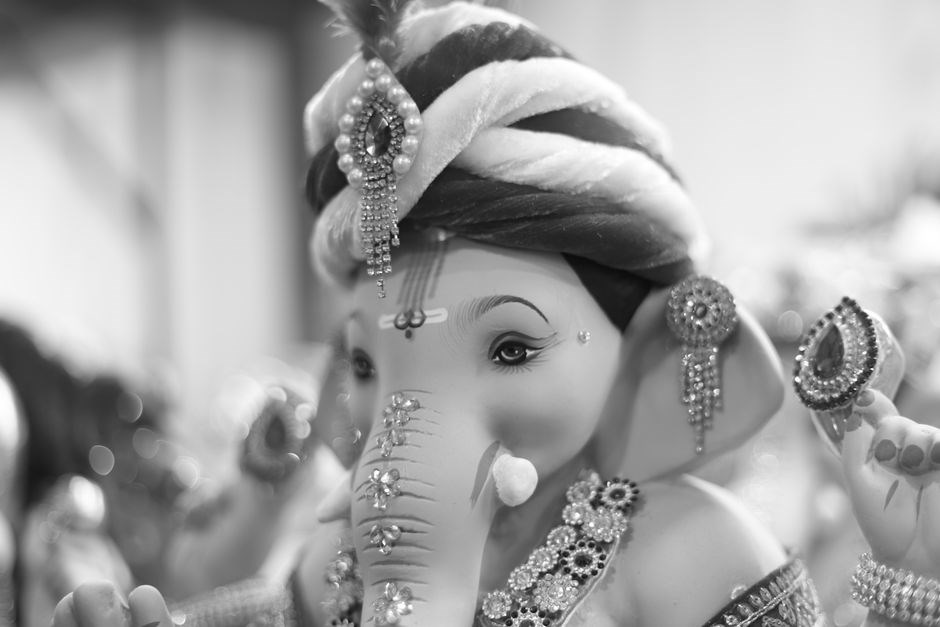
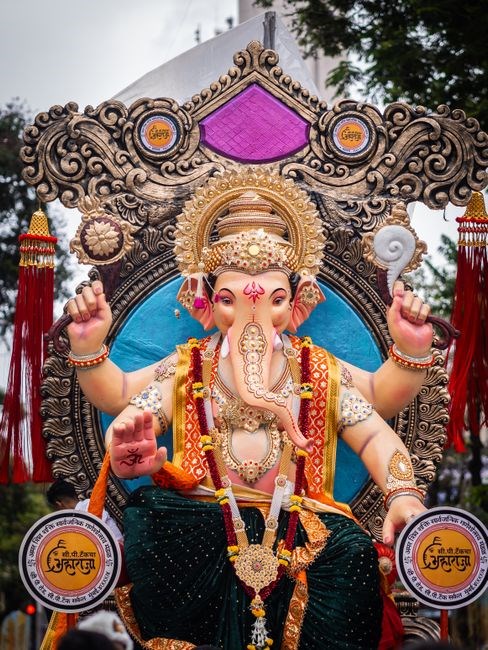
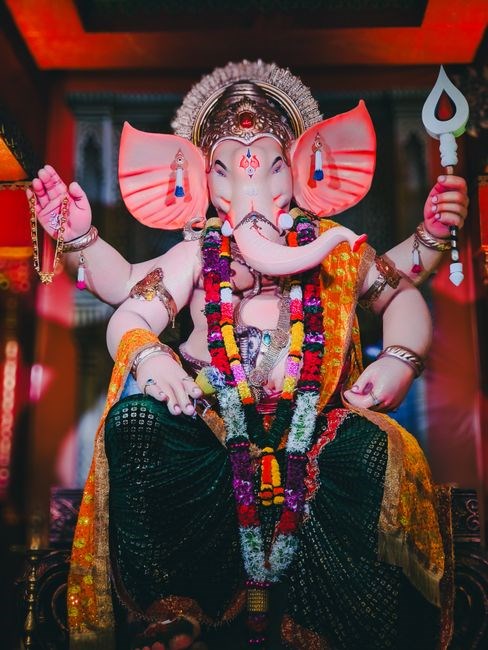
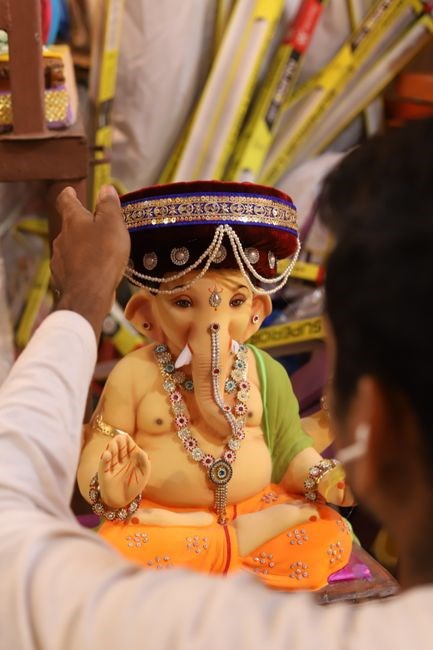
Clay Image of Lord Ganesha
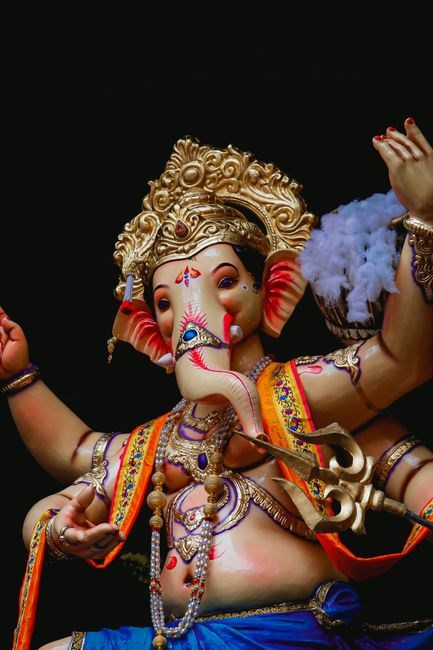
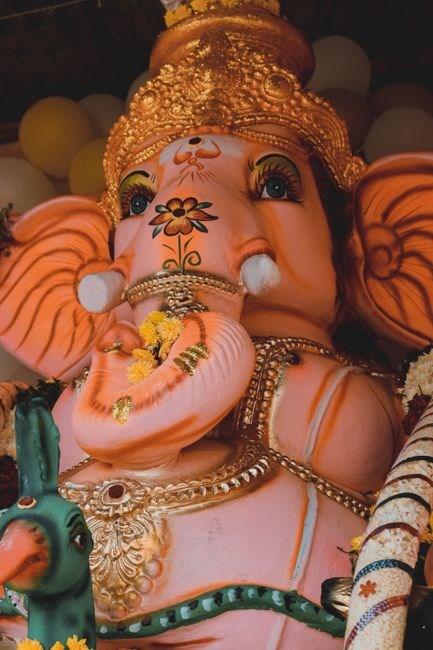
According to the 2023 Vinayaka Chavithi PDF‚ the clay image of Lord Ganesha is the focal point of the puja. The document emphasizes that the idol must be crafted from unglazed‚ locally sourced clay to preserve its sanctity. It should have a smooth surface‚ balanced proportions‚ and a gentle curve of the trunk. The PDF explains that the clay idol is first kneaded by an experienced artisan‚ then shaped into a small‚ portable form. After shaping‚ it is left to dry under direct sunlight for 48 hours‚ allowing the moisture to evaporate evenly. Once dry‚ the idol is polished with a soft cloth to reveal a subtle sheen. The PDF advises placing the clay idol on a small altar made of sandalwood or mango wood‚ surrounded by a white cloth. Before the puja‚ devotees are instructed to perform a purification ritual by sprinkling holy water over the idol and chanting a short mantra. The text also recommends offering a garland of jasmine flowers as the first offering. The PDF notes that the clay material symbolizes the impermanent nature of life and the need to seek divine grace. It also provides a brief prayer in both Telugu and English to be recited while placing the idol‚ ensuring a complete and meaningful worship experience. Additionally‚ the PDF includes tips for storing the clay idol after the ceremony: it should be kept in a cool‚ dry place‚ covered with a cloth‚ and cleaned gently with a damp cloth after each use. The document concludes by reminding devotees that the clay idol‚ though simple‚ carries the essence of Lord Ganesha.
Akshata‚ Water‚ Lamps‚ Incense
The 2023 Vinayaka Chavithi PDF specifies that the puja requires a handful of akshata‚ a small bowl of water‚ a set of oil lamps‚ and a bundle of incense sticks. Akshata‚ the sacred rice grains‚ should be freshly washed‚ then sprinkled over the clay idol as an offering of prosperity. The water‚ drawn from a clean source‚ is used to cleanse the altar and to bathe the idol before the ritual begins. Oil lamps‚ preferably made of brass or copper‚ are lit with sesame oil and placed around the altar in a circular arrangement to symbolize the removal of darkness. Incense sticks‚ scented with sandalwood or jasmine‚ are burned to purify the space and to invite the divine presence. The PDF provides a step‑by‑step guide: first‚ the akshata is placed in a small brass vessel; next‚ the water is poured into a clay pot and offered to the deity; then the lamps are lit‚ followed by the incense. Each item is described in both Telugu and English‚ ensuring clarity for all devotees. The text also advises that the incense should be held at a safe distance from the idol to prevent damage‚ and that the lamps be kept steady to avoid any accidental fire. After the puja‚ the remaining akshata is distributed among the devotees as a symbol of shared blessings. The PDF emphasizes that these items are not merely symbolic but are essential for invoking the blessings of Lord Ganesha during the Vinayaka Chavithi celebration. Devotees are encouraged to keep the lamps burning throughout the night ensuring the divine light remains until dawn daily.
Fruits‚ Flowers‚ and Leaves
The 2023 Vinayaka Chavithi PDF specifies the fruits‚ flowers‚ and leaves used in the puja. Mangoes‚ bananas‚ and coconuts are the primary offerings‚ each symbolizing sweetness‚ prosperity‚ and purity. Mangoes are sliced and placed on a silver plate; coconuts are cracked open to offer the sweet water inside. Bananas are offered whole‚ representing devotion and the cycle of life. Flowers chosen include marigold‚ jasmine‚ and lotus petals. Marigolds provide a bright orange hue for auspiciousness; jasmine’s fragrance attracts divine blessings; lotus petals‚ often white or pink‚ symbolize purity and enlightenment. Leaves are integral; banana leaves are used to arrange the altar and serve the offerings‚ while neem leaves cleanse the space. The arrangement follows a sequence: fruits at the center‚ flowers around them‚ leaves forming a fragrant canopy. Leaves should stay moist to preserve aroma. Devotees chant the Ganesha mantra while offering each item‚ enhancing the puja’s spiritual efficacy. A bowl of fresh water beside the altar symbolizes purity and cleanses the surroundings. All items are offered. in harmon
How to Access and Download the PDF
To obtain the 2023 Vinayaka Chavithi PDF‚ follow these steps:
- Navigate to a reputable Hindu devotional resource website such as HinduPad or the official Ganesha Chaturthi portal.
- Use the search bar to type “Vinayaka Chavithi 2023 PDF” or “Vinayaka Chavithi Vrathakalpam PDF.”
- Verify that the file is labeled “Free Download” and that the file size is approximately 1.2 MB‚ ensuring it is the complete version.
- Click the download link. The PDF will open in your browser; you can then choose to save it to your device.
- For offline use‚ right‑click the PDF and select “Save as” to store it locally.
- Once downloaded‚ open the file with a PDF reader to view the Vrathakalpam‚ the story in Telugu‚ and the English translation.
- Share the PDF responsibly‚ respecting copyright by not distributing it beyond personal use.
Before downloading‚ ensure your device has a reliable antivirus program. Many devotional sites host the PDF on secure servers; however‚ always check the file’s digital signature if available. After saving‚ you can open the PDF with any standard reader such as Adobe Acrobat Reader or Foxit Reader. For those who prefer a hard copy‚ print the document on high‑quality paper‚ ensuring the text remains legible. If you wish to share the PDF with friends‚ use a reputable file‑sharing service that preserves the original file. Remember to keep a backup on a cloud storage service for easy access during the festival season.
Store the PDF in a folder named “Vinayaka Chavithi 2023” for easy access during the festival now.