auxbeam switch panel manual

Welcome to the Auxbeam Switch Panel Manual, your comprehensive guide to installing, operating, and customizing your Auxbeam switch panel system for optimal vehicle control.
1.1 Overview of the Auxbeam Switch Panel System
The Auxbeam Switch Panel System is a comprehensive solution for controlling vehicle accessories, offering advanced features like RGB backlighting, multi-mode settings, and Bluetooth app control. Designed for durability, it features a waterproof design and customizable DIY options. The system supports up to 8 or 6 circuits, depending on the model, and includes a control box for easy installation. With its versatile design, it integrates seamlessly into various vehicles, providing a user-friendly interface for managing lights and devices. The system is backed by detailed manuals and guides for hassle-free setup and operation.
1.2 Importance of the Manual for Installation and Operation
This manual is essential for installing and operating the Auxbeam Switch Panel System. It provides detailed step-by-step instructions to ensure correct installation and optimal functionality. The guide covers mounting the control box, wiring, and connecting components, as well as troubleshooting common issues. By following the manual, users can avoid potential errors, ensuring safety and system reliability. It also explains advanced features like Bluetooth app control and RGB settings, helping users maximize their system’s capabilities. Adhering to the manual guarantees a seamless experience and extends the product’s lifespan.

Installation Guide for the Auxbeam AC-1200 Switch Panel
Install your Auxbeam AC-1200 Switch Panel with ease using this guide, covering mounting, wiring, and connecting components for seamless integration and functionality in your vehicle.
2.1 Mounting the Control Box
Mount the control box in a convenient, dry location with good ventilation. Ensure it is securely fastened using screws or brackets provided. Choose a spot close to the vehicle’s power source for easy wiring. Avoid areas exposed to moisture or extreme temperatures. Once mounted, connect the wiring harness to the control box, ensuring all connections are secure and protected from damage. Refer to the manual for specific mounting recommendations tailored to your vehicle type for optimal installation and functionality.
2.2 Powering the Control Box
To power the control box, connect the positive wire to your vehicle’s battery or a reliable power source with a 12-24V DC rating. Ensure the connection is secure and protected with a fuse or circuit breaker. Avoid grounding the control box directly to prevent electrical interference. Connect the negative wire to a stable ground point on the vehicle chassis. Double-check all connections for tightness and avoid reverse polarity to prevent damage. Ensure the power source matches the control box’s voltage requirements for safe and efficient operation.
2.3 Connecting the Switch Panel to the Control Box
Connect the switch panel to the control box using the provided wiring harness. Route the harness through the firewall or a suitable grommet to avoid damage. Ensure all connectors align properly and snap securely into place. Avoid over-tightening or bending the wires excessively. Once connected, verify that all switches function correctly by testing each circuit. If issues arise, check for loose connections or damaged wires. Proper connection ensures seamless communication between the switch panel and control box, enabling reliable control of your vehicle’s accessories.
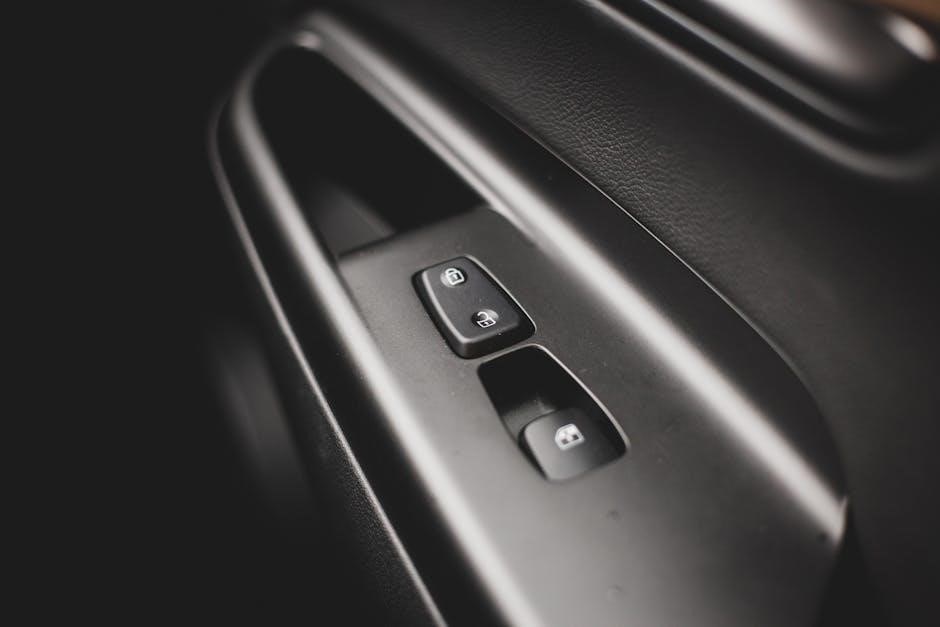
2.4 Mounting the Switch Panel in Your Vehicle
Mount the switch panel in an accessible location, such as the dashboard or center console, using the provided screws or adhesive brackets. Ensure the panel is level and secure to prevent vibration damage. Route the wiring harness through the firewall or a grommet to protect it from moisture and heat. Connect the panel to the control box, ensuring all wires are properly seated. Test each switch to confirm functionality before finalizing the installation. For a clean look, tuck excess wiring neatly behind the panel or along the vehicle’s trim.

Features of the Auxbeam Switch Panel
Mount the switch panel securely in an accessible location, like the dashboard or center console, using the provided screws or adhesive brackets. Ensure it is level and firmly secured to avoid vibration damage. Route the wiring harness through the firewall or a grommet to protect it from moisture and heat. Connect the panel to the control box, ensuring all wires are properly seated. Test each switch to confirm functionality before finalizing the installation. Tuck excess wiring neatly behind the panel or along the vehicle’s trim for a clean appearance.
3;1 RGB Backlight Color Options
The Auxbeam switch panel features customizable RGB backlighting, offering unlimited color options to match your vehicle’s interior or personal style. Users can adjust the backlight to enhance visibility and aesthetics. The RGB system allows for dynamic color changes, creating a modern and sleek appearance. Additionally, the backlight can be manually turned off during the day or when not needed, ensuring minimal distraction. This feature complements the panel’s durability and waterproof design, making it a versatile and visually appealing addition to any vehicle’s control system.
3.2 Multi-Mode Settings (Toggle, Momentary, Pulsed)
The Auxbeam switch panel offers three versatile operating modes: Toggle, Momentary, and Pulsed. Toggle mode allows for constant activation, ideal for accessories like fog lights. Momentary mode activates only when the switch is pressed, similar to a horn. Pulsed mode creates a flashing effect, useful for hazard lights. These settings provide flexibility for various applications, ensuring precise control over your vehicle’s accessories. The multi-mode functionality enhances customization, making the switch panel adaptable to different driving needs and preferences, while maintaining ease of operation.
3.3 Bluetooth APP Control and Group Settings
The Auxbeam switch panel features Bluetooth APP control, enabling wireless management of your vehicle’s accessories via a smartphone. The APP allows you to set up groups, controlling multiple lights or devices simultaneously with a single command. This feature enhances convenience, especially for drivers who need quick access to their accessories. Group settings streamline operations, while the Bluetooth connection ensures reliable control from inside or outside the vehicle. This advanced functionality makes the Auxbeam switch panel a versatile and modern solution for vehicle customization and control.
3.4 DIY Switch Panel Customization
The Auxbeam switch panel offers extensive DIY customization options, allowing users to personalize their setup. With 60 provided switch labels and 200 default icons, you can easily indicate what each switch controls. Additionally, you can use custom images from your phone album for a personalized touch. This feature ensures your switch panel is both functional and tailored to your preferences. The DIY customization enhances user experience by making the system intuitive and visually appealing, aligning with Auxbeam’s commitment to flexibility and user satisfaction.
3.5 Waterproof Design and Durability
The Auxbeam switch panel features a robust waterproof design, ensuring reliable performance in harsh environments. Its IP65 rating and waterproof cover protect against rain, snow, and moisture. The 10-foot wiring harness provides flexibility during installation, while the thick hard wire enhances durability. These features make the switch panel ideal for off-road and outdoor use, ensuring long-lasting functionality. Auxbeam’s focus on durability and weather resistance guarantees a dependable control system for your vehicle’s accessories.
Troubleshooting Common Issues
Identify and resolve common issues with your Auxbeam switch panel, such as wiring problems, connectivity faults, or power supply inconsistencies. Check connections, ensure proper voltage, and restart the system if necessary. Consult the manual for detailed troubleshooting guides or contact customer support for further assistance. Regular maintenance and inspections can prevent potential issues and ensure optimal performance of your switch panel system. Addressing problems promptly helps maintain reliability and functionality.
4.1 Wiring and Connectivity Problems
Wiring and connectivity issues are common challenges when installing or operating the Auxbeam switch panel. Ensure all connections are secure and properly insulated. Verify that wires are correctly routed through the firewall and connected to the control box. Check for loose terminals, damaged cables, or incorrect wiring configurations. If the switch panel fails to respond, inspect the power supply and ground connections. Consult the manual for wiring diagrams or contact customer support for assistance. Regularly inspect wiring for signs of wear or damage to prevent future issues.
4.2 Power Supply and Voltage Issues
Power supply and voltage issues can disrupt the functionality of your Auxbeam switch panel. Ensure the system is connected to a stable DC 12-24V power source, as specified in the manual. If the panel fails to power on, check the fuse or circuit breaker. Verify that the voltage matches the panel’s requirements, as incorrect voltage can damage the system. Loose connections or corrosion in the power wires may also cause intermittent issues. If problems persist, consult the troubleshooting guide or contact Auxbeam support for assistance.
4.3 Software and Bluetooth Connectivity Troubleshooting
If experiencing issues with Bluetooth connectivity or software functionality on your Auxbeam switch panel, restart the control box and ensure the app is updated. Reset the Bluetooth connection by clearing the device memory and re-pairing. Check for firmware updates in the app settings. Verify that the control box is powered on and within range. If problems persist, uninstall and reinstall the app or perform a factory reset on the control box, following the manual’s instructions.
Customer Reviews and Feedback
Customers praise the Auxbeam switch panel for its durability and customization options. Many highlight excellent customer service, while some note slow shipping times as a drawback.
5.1 Positive Experiences with the Auxbeam Switch Panel
Customers have shared overwhelmingly positive experiences with the Auxbeam switch panel, praising its durability, customization options, and ease of use. Many highlight the RGB backlighting and Bluetooth APP control as standout features. The ability to program and control accessories via a smartphone has been particularly well-received. Users also commend the responsive customer service, with stories of dedicated support teams resolving issues promptly. The product’s versatility and seamless integration into various vehicles have made it a favorite among off-road enthusiasts and professionals alike.
5.2 Common Complaints and Areas for Improvement
While many customers praise the Auxbeam switch panel, some have noted areas for improvement. Shipping delays have been a frustration for a few, with delivery times exceeding expectations. Additionally, a small number of users experienced installation challenges, requiring multiple support interactions to resolve. Another point of contention is the switch brightness, with some finding it overly intense. Despite these issues, the product remains popular, and Auxbeam’s responsive customer service has helped mitigate problems, maintaining a loyal and satisfied customer base overall.